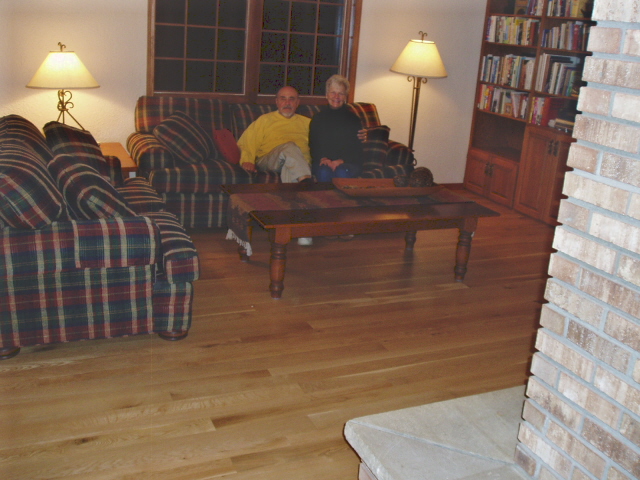
The key to making money in a wood business is to eliminate the middlemen that normally make all the easy money. At Timbergreen Farm, we have cut out every single timber buyer, forester, middleman, broker, shipper, wholesaler, retailer..... We have learned to keep all the money for ourselves. Installing our wood products in our customer's homes makes this all possible. It is really pretty simple - it mostly a matter of confidence!
The best part of all is that we love to see our wood put into its final use - and hear the new owner's praise.
Here is how we do it!
The hardest part of all is getting started. Determining the best straight line can be a challenge, especially in a remodelling job. We try to use the joints in the subfloor, or a straight wall. Sometimes we start right down the middle and work our way out to the walls. Tape measures, carpenters squares, string lines and chalk lines help find the best line.
Making sure the floor is clean, starts at the beginning and is repeated every hour (or less) until the job is done. Get the biggest vacuum cleaner possible and keep the filter clean!
We use a biscuit joiner as a Jamb Saw to trim the vertical millwork so the flooring will slide underneath. This is often easier than taking off the trim, cutting it to the right length and re-installing it.
The next skill is to make a square cut on the ends of each floor board with the chop saw.
The first row is nailed with a vertical air nail gun. These nails will be covered by the baseboard.
Once we get six inches from the wall, we use the big powernailer to fasten the boards to the subfloor. This shoots a 2" long serrated cleat at an angle, just above the tongue. We use at least 5 nails per square foot of flooring.

Notching boards around corners, cabinets, fireplaces, etc. takes time and practice.
A table saw is also used to rip the boards to fit around objects. The last board that meets the wall is also ripped to fit.
A reciprocating "Sabre Saw" is another important tool when shaping a floorboard to fit.
Photos by Susie Young
Once the floor is nailed down, the surface is sanded smooth. Once I hear this machine running, I know the end is in sight and we are really making money now! We start with 60 grit and spend 80% of the time on this coarse sandpaper. Once the floor is flat and smooth, we go over it with 80 grit, then 100 grit. We use Super Glue and sawdust to fill any holes. This makes a more natural filler than the Latex fillers from the store.
I apply Bonaseal to seal the floor. This brings out the color and grain for the first time - I Love This Step! After all the carrying and chopping and nailing and sanding and filling and vacuuming... this makes it all worth while. The sealer dries in a couple of hours, but I prefer to let it dry overnight. Then we again sand the floor with 120 screen to smooth off the raised grain from the water based sealer.
The first coat of Bonakemi Mega water based polyurethane again, brings out the color and grain. After a couple of hours, we apply a second coat to finish the job.

Each finished floor becomes another showroom for Timbergreen Farm. Happy and Satisfied customers become our volunteer sales staff who will sell our next floor by showing it off to their family and friends. We will do anything possible to make the homeowner happy with our work. Satisfaction Guaranteed!